












Table Widget
Back to All Guides
GET IN TOUCH
If you would like to get further information about Frog or help in getting it set up in your school please get in touch via the contact details below...
hello@frogeducation.com
Table Widget
The Table widget is a quick way of adding or importing tables into Frog to display on a page.
Table Widget
With the Table widget you can add an editable table to your Frog site page.
When the Table widget is added to a page you will be asked to set the number of rows and column you require. This will generate a blank table within the widget. Each row and column can be resized, added to and removed.
Each table cell is controlled by the Rich text editor located in the edit panel. This can be used to format text, pictures and links added into a cell, as well as the cell's background colour.
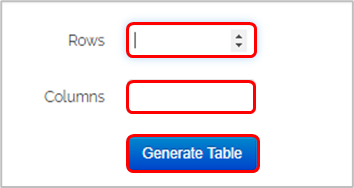
Generating a table
Drag and drop the Table widget into the Frog site page.
Enter the number of Rows and Columns for your table either directly into the fields or use the up & down arrows next to the field box.
Select Generate table.
A blank table will display on your site page.
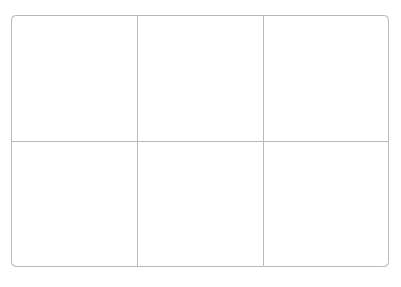
Settings and options
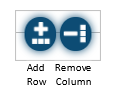
To trigger the Add row and Remove column icons, hover your mouse over the top or bottom border of the table. The Add row and Remove column icons will display.
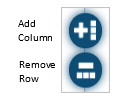
To Remove row or Add column, hover your mouse over either the left or right border of the table. The Remove row and Add column icons will display.
Cell action menu
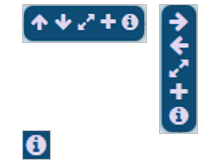
The Cell action menu displays when you hover your mouse over an internal cell border in the table.
Depending on whether you hover over a vertical or horizontal border, icons will display within the Cell action menu to:
- Copy cell content to the cell above or below
- Copy cell content to the cell on the right or left
- Resize rows and columns
- Insert an additional row or column.
Selecting the information icon will display popup window with a description of the other icons on the menu.
Resizing rows and columns
The resizing of a whole row and/or column must be completed in Resize Mode. Select the Resize icon from the Cell action menu.
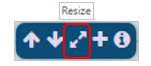
The message You are in Resize mode! will display at the bottom of the table when resize mode is activated.

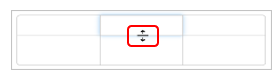
To resize the height of a row or width of a column, hover your mouse over any of the cell borders within the required row or column. The cell border will highlight blue indicating it has been selected and the mouse cursor will change as shown below.
Drag the cell border to resize the row height or column width.
Select Leave resize mode once done.
Edit cell content
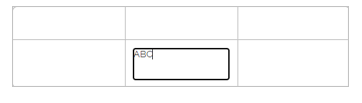
Select into a cell within the table to make that cell editable.
Editable cells will be highlighted by an inner border.
Content is typed directly into each cell and can be formatted using the Rich text editor within the edit panel as shown.
Copying content between cells
Cell content can be copied into neighbouring cells using the Arrow icons within the Cell action menu as displayed to the right.
Hover over the cell border containing the content you want to copy to trigger the Cell action menu.
Select the required Copy ... arrow to copy the content to the neighbouring cell.
Importing tables
Tables can be directly copied from Microsoft Excel or Word. Select on the Import table icon located within the edit panel. This will open the Import table window.
Copy your table from Word or Excel and paste it into Import table window.
Select Import.
Rich text editor
The Rich text editor will display in the Edit panel when you select within a cell in your table and make it active. The Rich text editor enables you to format the cell content.