Back to All Guides
GET IN TOUCH
If you would like to get further information about Frog or help in getting it set up in your school please get in touch via the contact details below...
hello@frogeducation.com
Curriculum Designer
The Curriculum designer is a Frog application which allows your school to create a curriculum. These curricula are broken down into Learning objectives.
Curriculum Management
Curriculum designer is a Frog application which allows your school to create a curriculum. These curricula are broken down into Learning objectives. By default, only Frog Admin users can make changes to Curriculum designer.
Adding a new curriculum
To edit or add to a curriculum, you have one of two options.
You can choose an existing subject by selecting it, or you have the option to add a new subject. To create a new subject, select the Subject button.

Once you have selected the subject, you can then add a new curriculum by selecting the Curriculum button.

Renaming and updating curriculum icons
To rename a curriculum, open the Curriculum designer, select the correct curriculum and subject and then you will be presented with the curricula used for these options. Simply select the Action cog on the curriculum and select the Rename option.
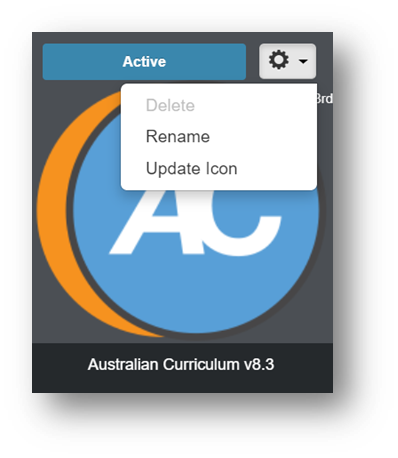
To update the icon of a curriculum, select the Update icon option.
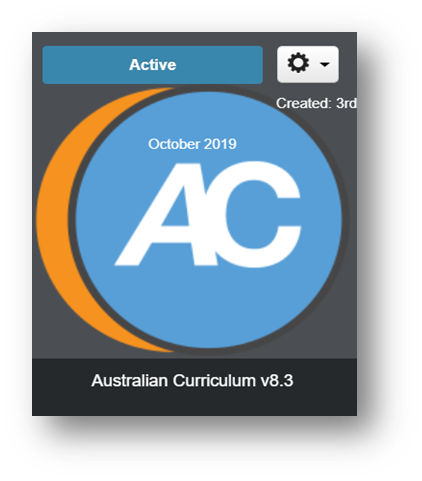
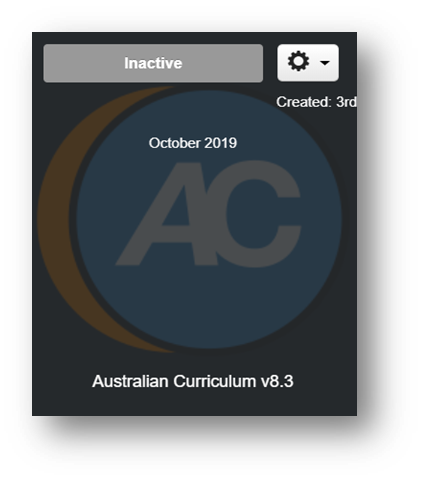
Activating and deactivating curriculum
To change what curriculum is active, open the Curriculum designer, select the correct curriculum and subject and then you will be presented with the curricula used for these options. At the top of the curricula there will be an icon that highlights whether they are Active or Inactive.
Selecting the Active/Inactive icon opens a window that allows you to activate it or deactivate it.
Assessment Standards
The Assessment standards settings can be found by opening the Curriculum designer application and selecting the Assessment standards button found in the top right hand corner of the window.
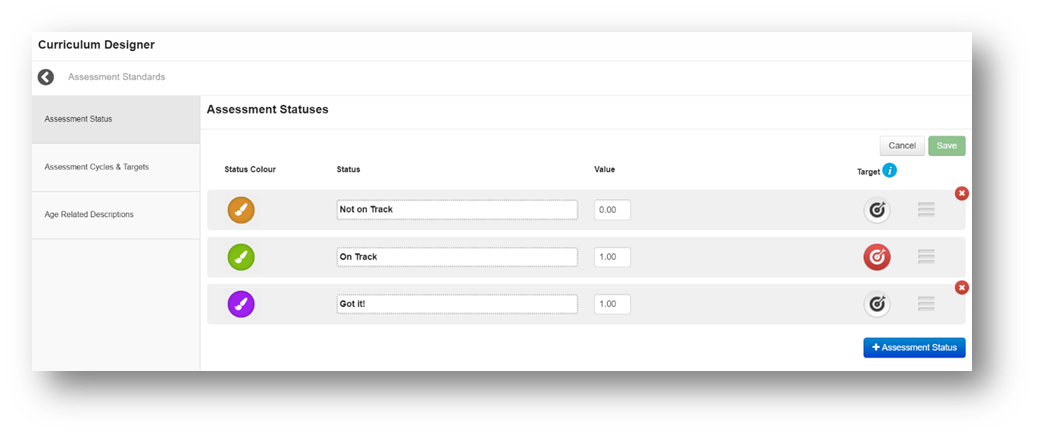
Assessment status
From within the Assessment status tab you are able to set and edit what statuses educators can add to their students’ progression charts.
By selecting the Edit button you can set the:
- Status colour - Choose what colour will be associated with this status
- Status - Text based description associated with this status
- Value - A numerical value associated with the status
- Target - The target status is used for Frog progress age related reporting. One status is defined as the target and the other statuses listed vertically below are classed as above target.
It is possible to add more assessment statuses by using the blue button found in the bottom right hand corner of the window.
Assessment cycles and targets
Before you can create any progression charts for the academic year, you need to set up your Assessment cycles & targets. To create a new Assessment cycle, select Edit and select the Cycle button. Next, you will need to enter the details of the new cycle.
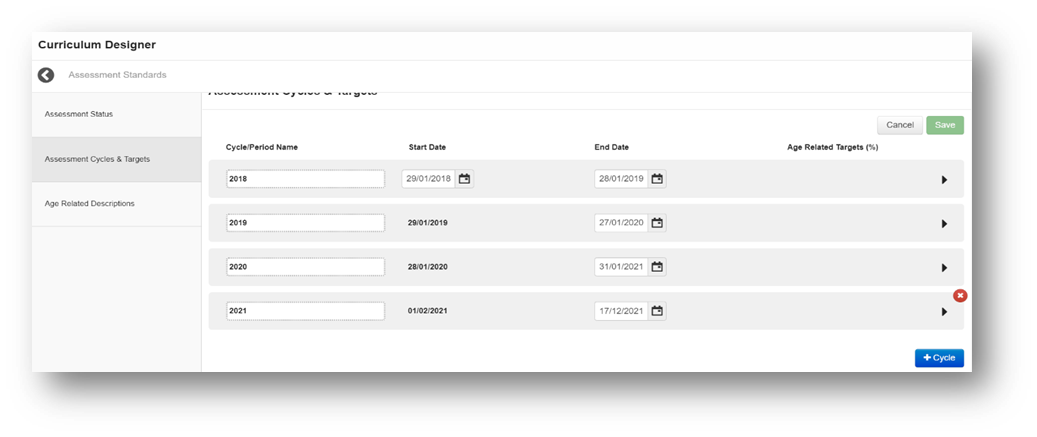
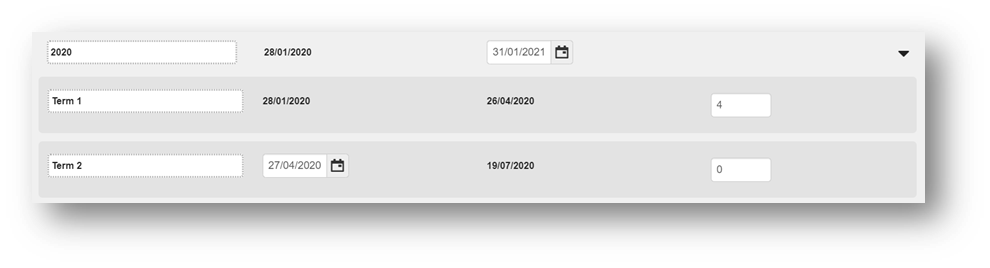
Selecting the arrow to the right of the new cycle will allow you to start adding your periods. It is recommended to add all of you required periods before you attempt to configure the dates.
Note: The start date of the first period is defined by the start date of the cycle. The end date of the first period and all subsequent periods is defined by the start date of the next period. The end date of the last period is defined by the end date of the cycle. Used in the Frog Progress age related reporting target calculation, you can add % Age related targets against your new periods. These are defaults that will be used in all subjects when reporting.
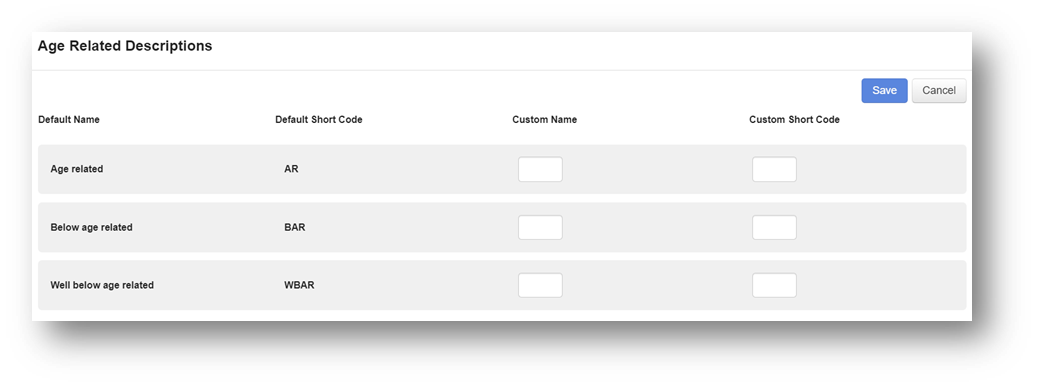
Age related descriptions
There are three default Age related descriptions in Frog that you are able to assign custom names and custom codes to. To add custom information, navigate to the Age related descriptions area in Assessment standards and select the Edit button. Once any changes have been made, ensure to select the Save button.
Learning Locker
The Learning locker is accessible through both the Progression charts application and the Curriculum designer. It is used to add resources to learning objectives within a curriculum to aid educators and students throughout the school year. Certain resources added to the Learning locker can be assigned to students.

To get to the Learning locker, open the Curriculum designer, select the correct subject, then choose the curriculum you want to add resources to. To access the Learning locker from here, simply select on the Learning locker option found to the right of each objective.
You are able to assign resources in the locker students directly from both Curriculum designer and progression charts. When curriculum mapped quizzes are assigned the results will be added to the evidence timeline in charts.
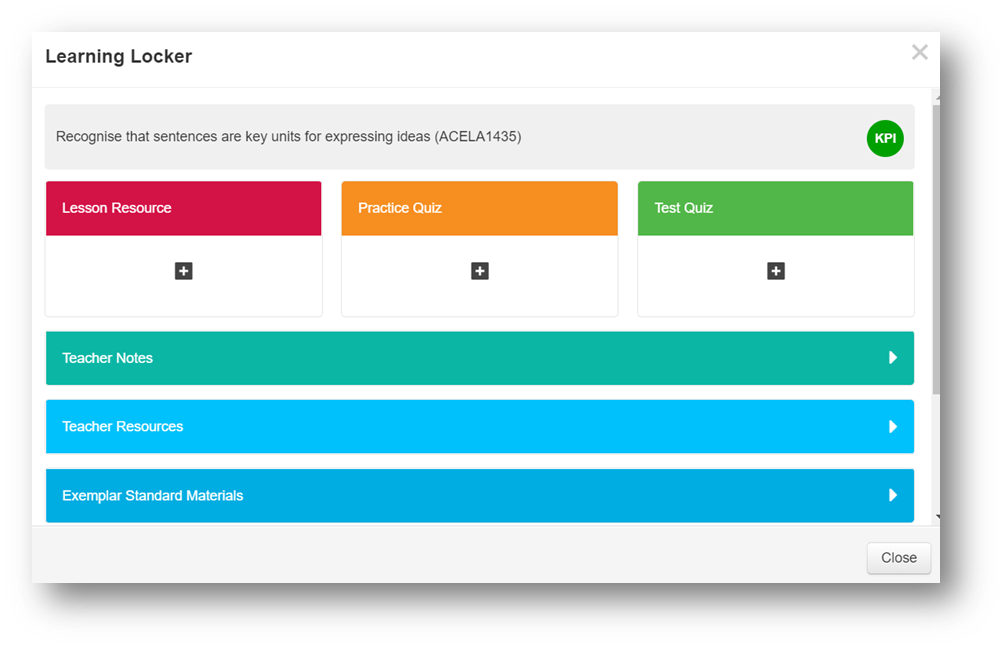
Selecting one of the resource areas, allows you to add more resources to the Learning locker.
The options are:
- Teacher notes - Add notes to this area. The rich text editor means you can add tables and links to this area if necessary
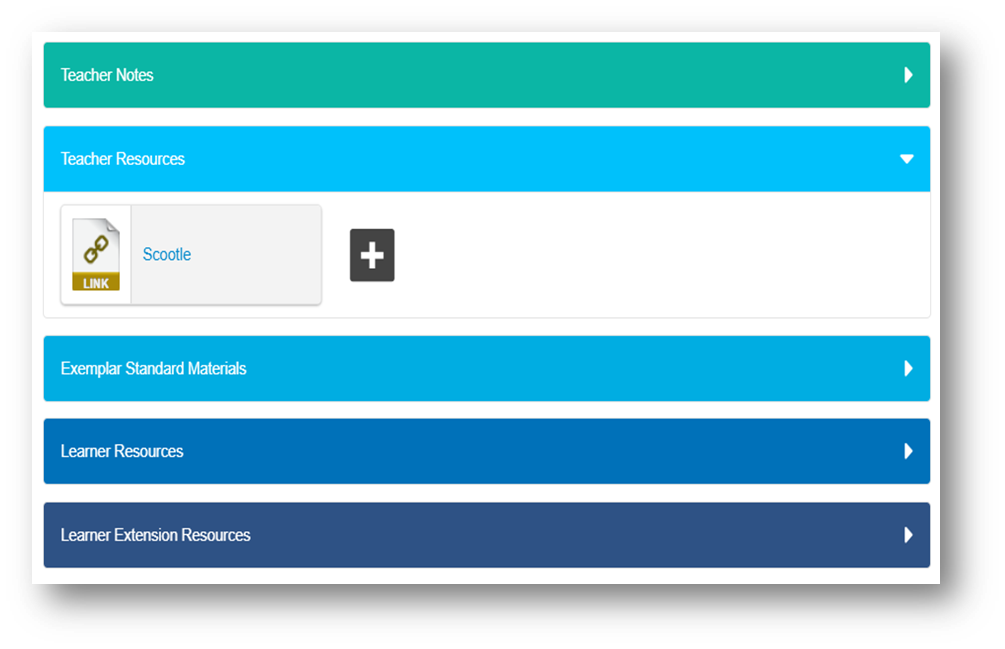
- Teacher resources - Add resources such as Frog sites, documentation, quizzes and links related to this learning objective
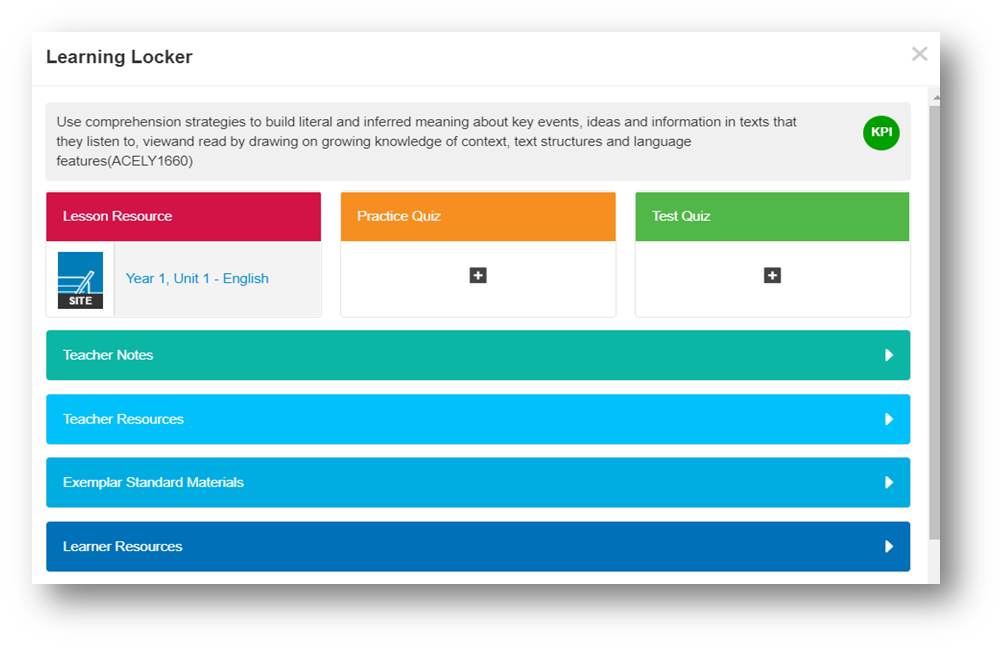
- Exemplar standard materials - Add exemplar standard materials to this area. Any resources added to the following two options are visible to students through the My Progress applications
- Learner resources - Add resources such as Frog sites, documentation, quizzes and links related to this learning objective
- Learner extension resources - Add further resources such as Frog sites, documentation, quizzes and links related to this learning objective.
Selecting a resource will open a window which allows you to add notes, remove the resource or assign it.
Adding Learning Objectives
To add a new Learning objective to a curriculum, open the Curriculum designer, select the correct curriculum and subject and then choose the curriculum you want to add learning objectives to.
Select the Edit button to enter edit mode. At the bottom of the Learning objective list there is the option to add a new objective.
Note: When adding the information for the new Learning objective you can add a maximum of 500 characters.
Sub category Learning objectives
You can also add sub categories to a Learning objective. When in Edit mode, if you hover over a learning objective, the plus option to add a sub category will appear in the bottom right hand corner.
Deleting Learning objectives
To delete an objective, enter Edit mode and hover over the objective you would like to delete. To the right hand side of the objective, cross will appear in the top right hand corner.
User Access
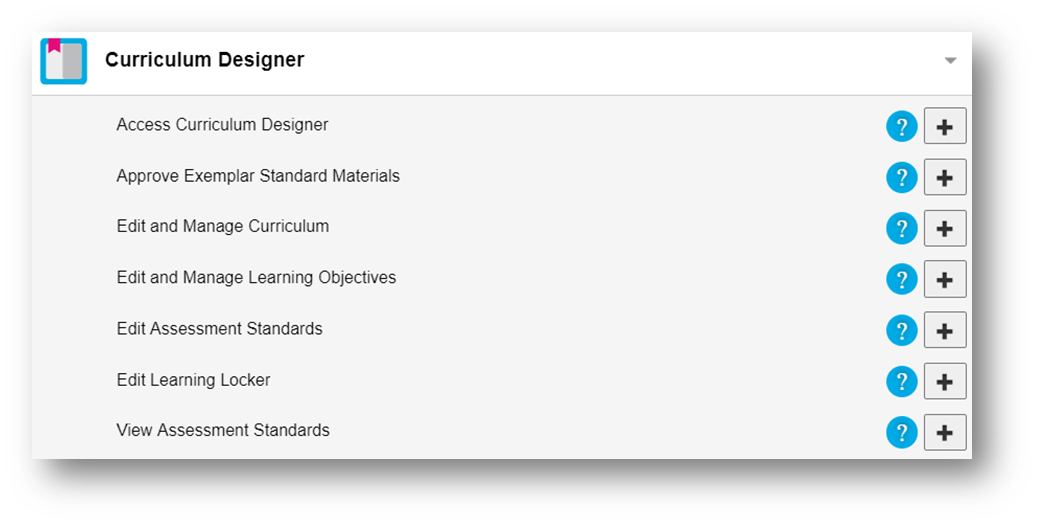
Administrators have the ability to set which individuals have access to the Curriculum designer application and what features they can use within it. Access to the Curriculum designer can be managed through the Groups & policies application.
There are 7 different levels of access to the application:
- Access curriculum designer - A user can access the Curriculum designer application
- Approve exemplar materials - A user can approve all exemplar materials available in Learning locker
- Edit and manage curriculum - A user can edit and manage the curriculum
- Edit and manage Learning objectives - A user can save, edit and delete their own saved reports
- Edit Assessment standards - A user can edit all assessment standards
- Edit Learning locker - A user can edit each Learning locker
- View Assessment standards - A user can view the Assessment standards.